
Free Template
Event Day Timeline Template
A minute-by-minute event day timeline template built from 500+ real Los Angeles events — including photo booth setup, peak hours, and breakdown scheduling.
What's Inside
- 1Setup time planning — vendor arrival, equipment testing, and final checks
- 2Guest arrival flow and how to create immediate engagement
- 3Booth operating hours — optimizing your rental window
- 4Peak time identification so you never miss the high-energy moments
- 5Last call strategy for maximizing final-hour participation
- 6Breakdown schedule that does not disrupt your event ending
Built from Real Event Data
Latino-owned & woman-owned — we understand your celebration
Download Your Free Template
The same timeline framework our team uses for every event we produce.
How to Build the Perfect Event Day Timeline (With Photo Booth Integration)
Every successful event runs on a timeline. Whether you are planning a wedding reception, quinceañera, Sweet 16, corporate gala, or holiday party, having a detailed minute-by-minute schedule ensures every vendor arrives on time, every moment is captured, and your guests experience a seamless flow from start to finish. The most common source of day-of stress is not having a clear timeline — and the photo booth is one of the elements that benefits most from thoughtful scheduling.
After producing more than 500 events across Los Angeles County, we have refined our timeline approach based on real data. We know exactly when guest participation peaks, when energy dips, and how to structure booth hours to maximize engagement without wasting a single minute of your rental. This guide shares that knowledge so you can plan like a professional event coordinator, regardless of your experience level.
Setup Time: Getting Everything Ready Before Guests Arrive
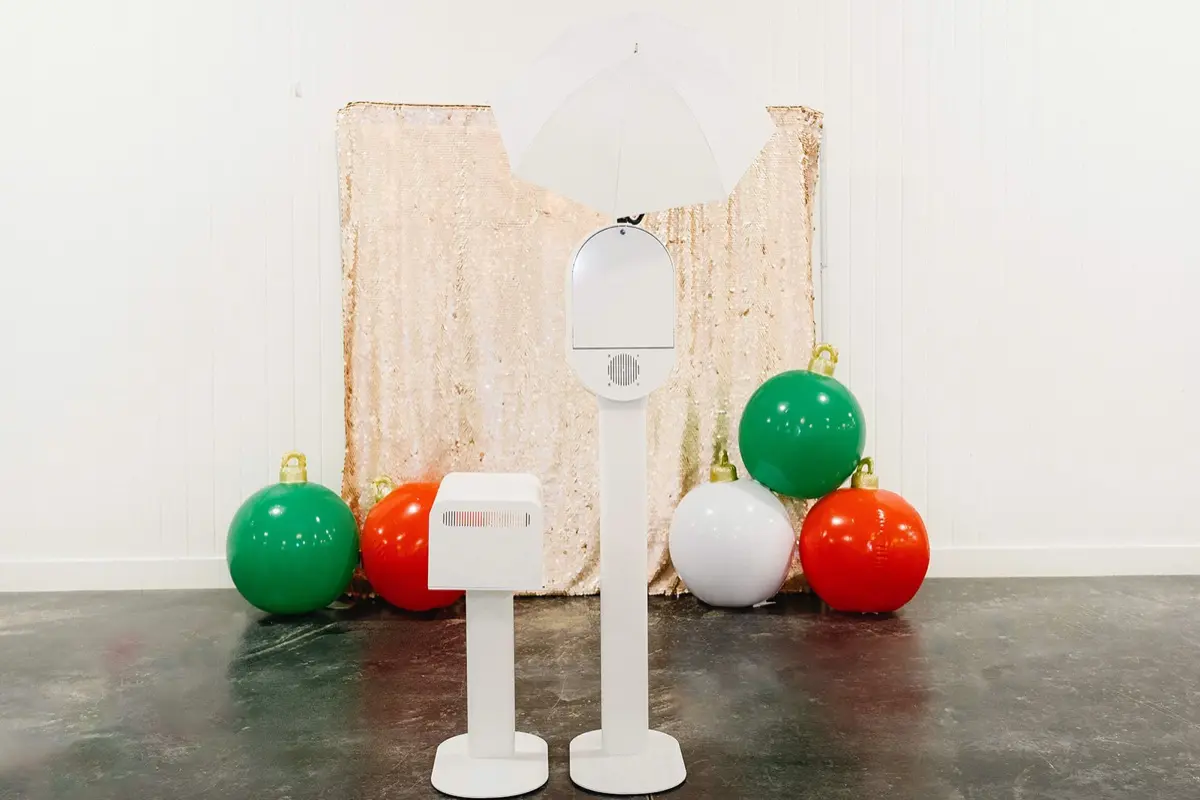
The photo booth setup process takes between 45 and 90 minutes depending on the booth type, venue accessibility, and how complex the configuration is. At Captured Celebrations, we always arrive at least 60 minutes before the booth is scheduled to open, and we build this buffer into every event plan.
Our Open Air Booth is the fastest to set up — typically 30 to 45 minutes from unloading to fully operational. The Retro Mirror Booth requires about 45 to 60 minutes due to the mirror calibration and interactive software setup. The Glam Booth takes the longest at 60 to 90 minutes because of the studio lighting configuration that ensures every portrait looks magazine-quality.
During setup, we test every component: camera focus and exposure, printer output quality, backdrop stability, touchscreen responsiveness, and social sharing connectivity. We run at least five test prints to confirm color accuracy and paper feed. This thorough testing process means that by the time the first guest steps in front of the camera, everything is dialed in and performing at peak quality.
Coordinate with your venue to confirm the setup window. Most venues allow vendor access one to two hours before the event start time, but some have restrictions — especially venues with back-to-back events on weekends. Confirm the load-in entrance, elevator access (if applicable), parking for the vendor vehicle, and the exact location where the booth will be set up. Sharing a floor plan with your vendor ahead of time prevents confusion and speeds up the process.
Guest Arrival: Creating Immediate Engagement
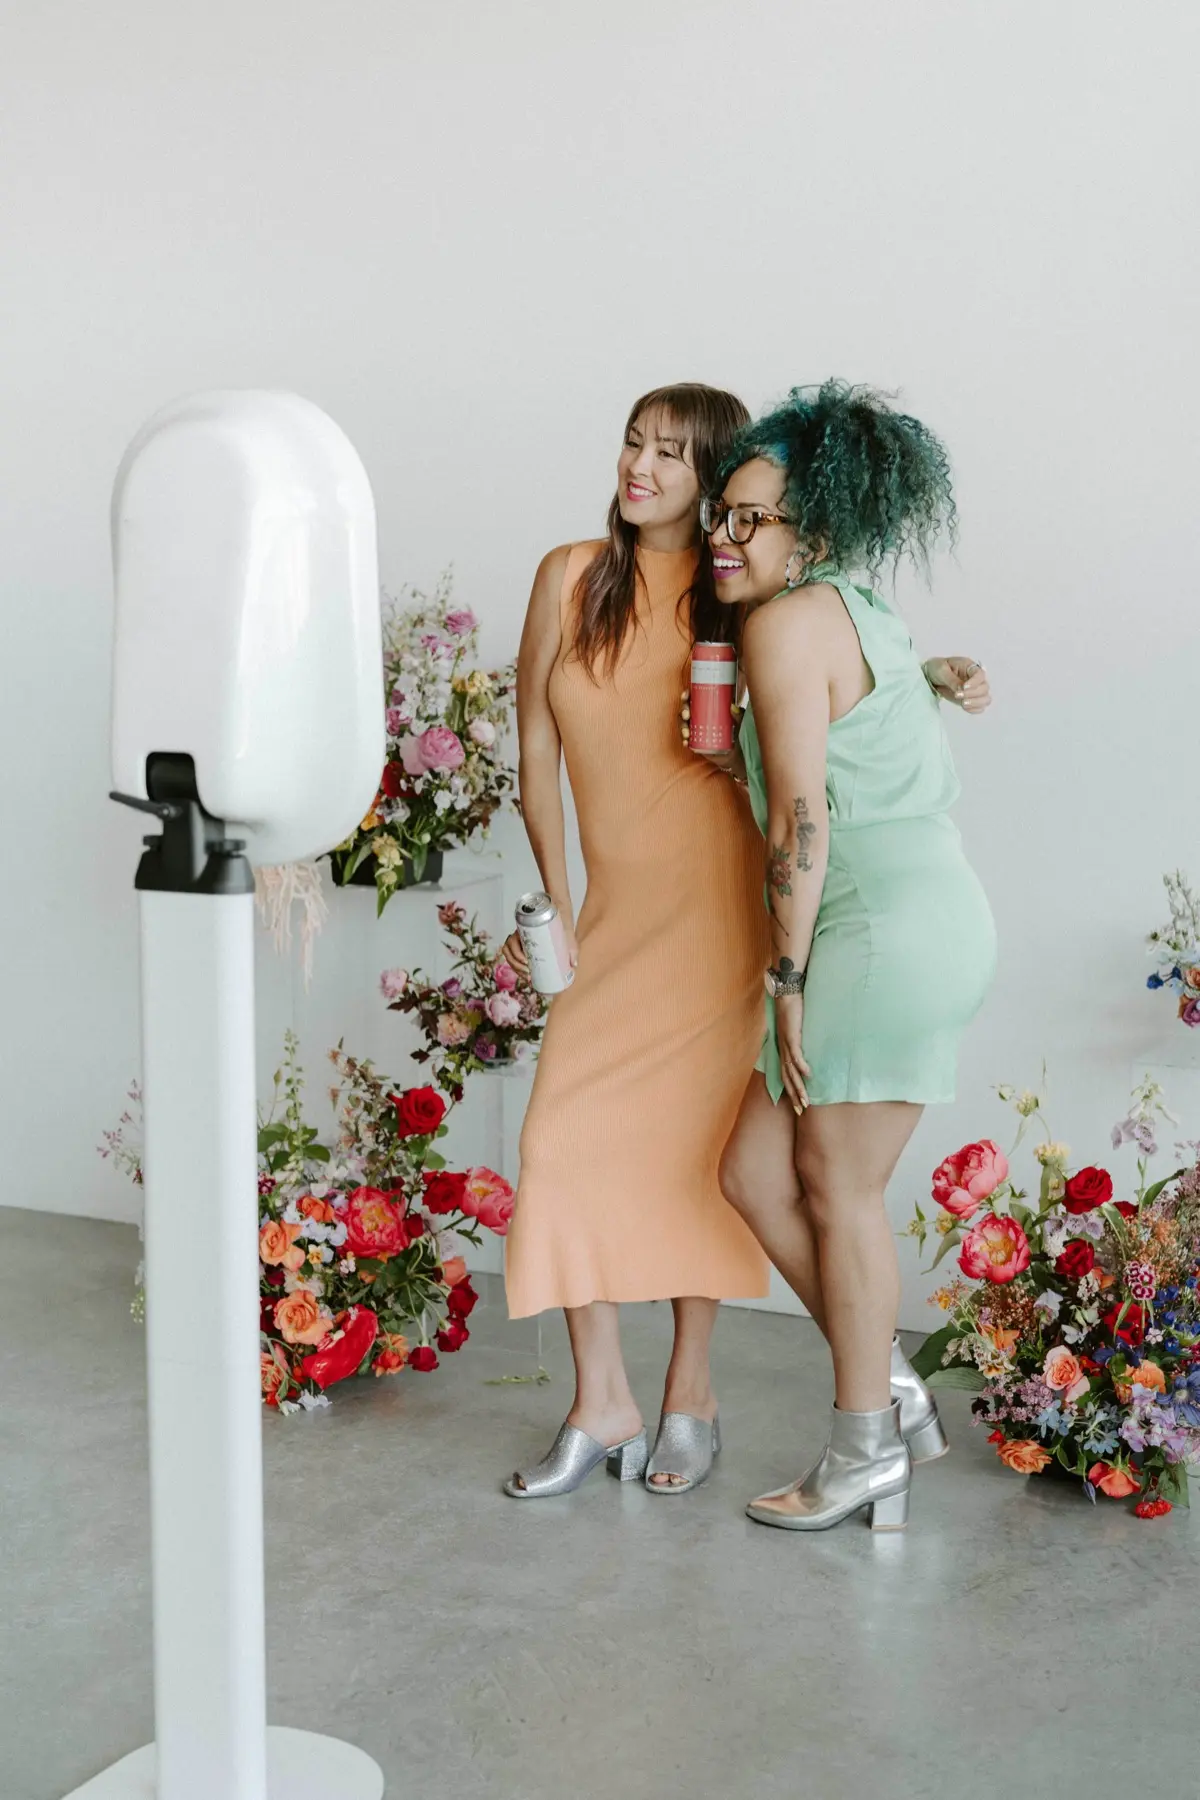
The first 30 minutes after guests arrive set the tone for the entire event. If guests walk into a quiet, low-energy room, it takes longer for the party to build momentum. A photo booth that is already up, lit, and inviting creates an immediate focal point and gives early arrivals something fun to do while they wait for other guests.
We recommend having the booth open and operational at least 15 minutes before the official start time. Early guests are often the most enthusiastic booth users — they have time to take multiple rounds of photos, try different props, and share their photos on social media before the venue fills up. These early posts also serve as organic marketing for the booth, encouraging guests who see the photos online to make a beeline for the booth when they arrive.
Position a welcoming sign near the entrance that directs guests to the photo booth. Something as simple as "Photo Booth Open — Come Say Cheese!" with an arrow creates awareness and drives traffic. Our attendant also greets guests warmly and invites them to try the booth, which eliminates any hesitation or shyness, especially at events where guests may not know each other well.

Booth Operating Hours: Optimizing Your Rental Window
The standard photo booth rental is three hours, which is the sweet spot for most events with 50 to 200 guests. In three hours, a well-managed booth can serve 150 to 250 individual sessions, producing 300 to 500 prints. For larger events or celebrations that run longer, four or five hours ensures every guest has multiple opportunities to visit the booth.
The most important decision is when to start the clock. Based on our data from hundreds of LA events, here are the optimal start times by event type:
Weddings: Start during cocktail hour, approximately 30 minutes after the ceremony ends. This captures the cocktail hour crowd and carries through dinner and the first part of dancing. Quinceañeras: Start after the formal waltz and toast — the energy is high and the party is in full swing. Corporate events: Start at the beginning of the networking or reception portion. Birthday parties: Start as soon as guests begin arriving to create immediate energy. Holiday parties: Start 30 minutes into the event once guests have gotten drinks and settled in.
A common mistake is starting the booth too late. If your event runs from 6 PM to 11 PM and you book a three-hour booth starting at 8 PM, you miss the cocktail hour energy entirely. Starting at 6:30 PM captures both the early arrivals and the post-dinner crowd, maximizing your investment.
Peak Times: When Guest Participation Spikes
Every event has predictable peaks in booth activity. Understanding these peaks helps you plan your timeline so the booth is operating during the moments when guests are most eager to use it.
The first peak happens within the first 30 to 45 minutes of the booth opening. Guests are curious, excited, and ready to play. There is usually a natural line that forms as word spreads through the venue that the booth is open. This initial surge is the most important window to capture.
The second peak happens after dinner or the main program — usually 60 to 90 minutes into the event. Guests have eaten, they are loosening up, and the dance floor is starting to fill. This is when group photos become most popular, with large parties of friends and family gathering for shots together.
The third peak is the "last call" surge in the final 20 to 30 minutes. When guests realize the booth is about to close, there is a rush of people who have not visited yet or want one more round. Our attendant manages this surge by keeping sessions efficient while maintaining the fun, relaxed atmosphere. Planning for these three peaks ensures your timeline allocates the right energy at the right moments.
Last Call: Maximizing Final-Hour Participation
The last 30 minutes of booth operation are crucial. A well-timed "last call" announcement — made by the DJ, MC, or event host — sends a wave of guests to the booth. This announcement should happen 20 to 30 minutes before the booth closes, giving everyone enough time to get their photos without rushing.
We recommend coordinating with your DJ or MC to make two announcements: one at the 30-minute mark ("The photo booth will be closing soon — get your photos now!") and a final announcement at 10 minutes ("Last chance for photos!"). This creates urgency without panic and ensures no guest misses out.
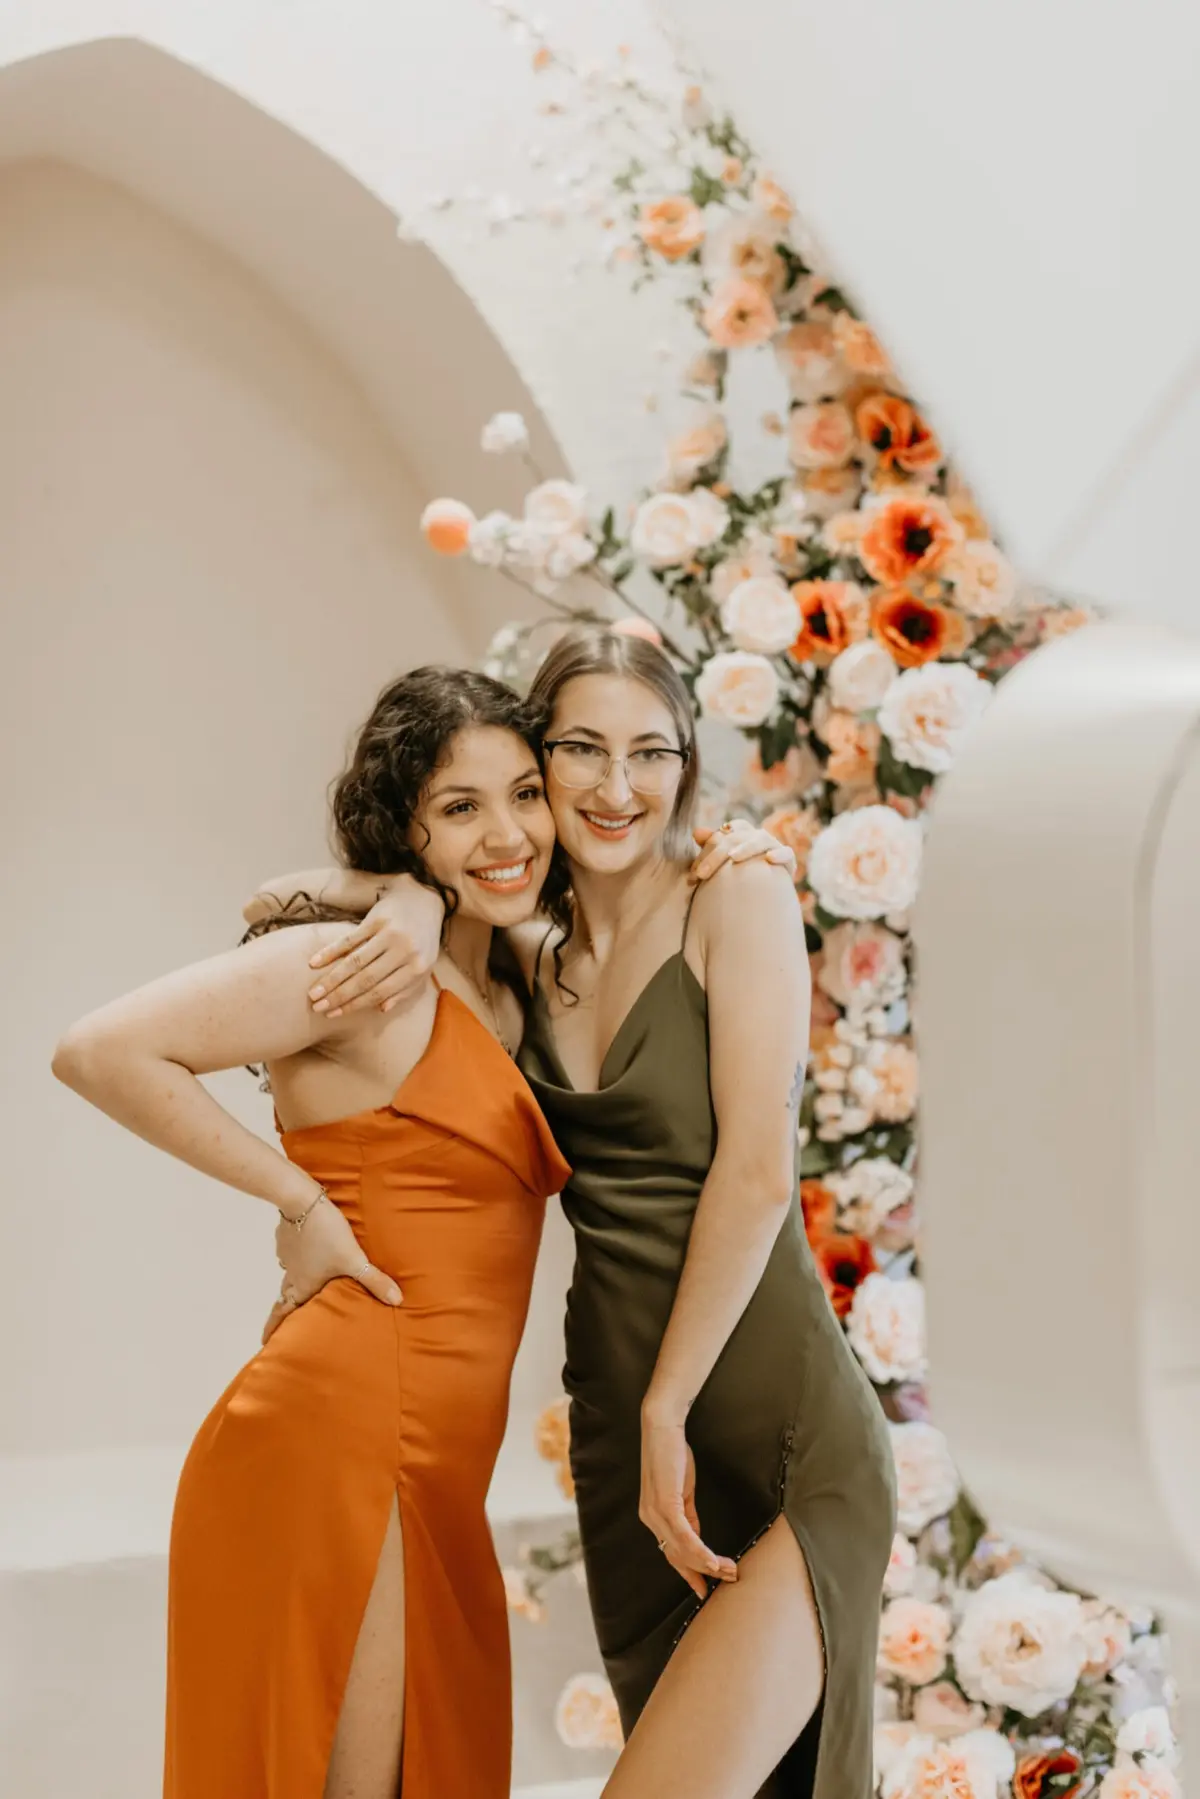
The final photos of the night are often the most entertaining. Guests are relaxed, inhibitions are lower, and the energy is festive. Group shots get bigger, poses get sillier, and the resulting photos are frequently the most shared and most beloved images from the entire event. Do not let your event end without capturing these moments.
Breakdown: A Smooth Exit That Does Not Disrupt Your Event
Breakdown is the final piece of the timeline puzzle, and it should be invisible to your guests. At Captured Celebrations, our breakdown process takes 20 to 30 minutes and happens discreetly while the event continues around us. We break down the backdrop and prop table first, then the booth hardware, and finally load out.
We time our breakdown so it does not coincide with key event moments. If the last dance, sparkler exit, or final toast happens 15 minutes after the booth closes, we wait until that moment has passed before beginning breakdown. Your event timeline should note the booth close time and the breakdown window so your coordinator and venue staff know what to expect.
For venues with strict end times or shared spaces, communicate the load-out process with the venue coordinator in advance. We need clear access to the exit door, elevator (if applicable), and parking area. A smooth breakdown ensures the venue is happy, you are happy, and we are ready to provide our full digital gallery within 24 to 48 hours after the event.
Ready to Build Your Event Timeline?
A great event does not happen by accident — it happens by design. Download our free timeline template above to get a customizable minute-by-minute schedule for your next event. The template includes fill-in sections for every vendor, key moments, and the photo booth windows that maximize guest engagement.
At Captured Celebrations, we serve weddings, quinceañeras, corporate events, and private celebrations across all of Los Angeles County. Our $94 five-star Google reviews reflect our commitment to punctuality, professionalism, and making every event extraordinary.
Download the template above to get started, or call us at (747) 895-4473 to discuss your event timeline with our team.
Need help building your event timeline?
Book a Free ConsultationOr call us: (747) 895-4473